WordPress Admin Panel is the best way to install the plugin. It is the best way because WordPress automates many steps for you.
1. Download the Plugin Files:
The initial step is to download the plugin zip file from your account to your computer. You can directly upload the plugin zip file since it is already organized to be compatible with the WordPress plugin.
To download the CHP Adblock PRO version, log into the CHP Adblock account you’ve used for purchasing the CHP Adblock PRO license. Once you’re login into your account, Click on My Account on the top menu, Click on Overview.
Inside the Adblock My Account area, click the Download button against the Adblock PRO license.
The download process will differ depending on your browser and operating system. Just make sure you download or save the plugin file (zip) in a location that you remember and can find later.
2. Upload and Activate the Plugin on Your Website
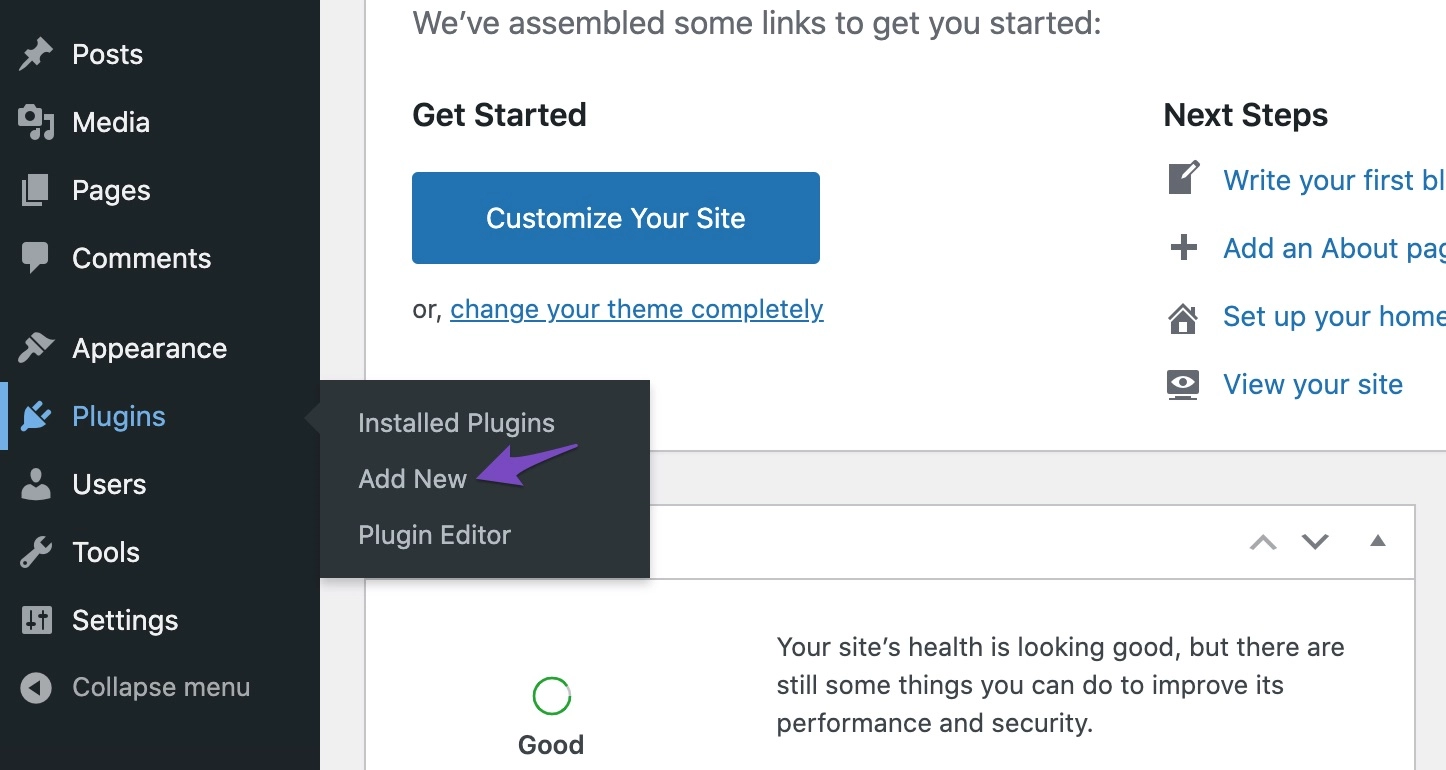
The next step is to log in to your WordPress dashboard and then go to the Add New Plugin Page. You can find this link on the WordPress Sidebar, under Plugins.
Alternatively, you can click on the Plugins link which is in WordPress Sidebar, and click the Add new button at the top of the page.

Here, WordPress will show you the most popular WordPress plugins from the repository. Right now, We are not interested in these plugins.
Upload the plugin file (zip) to the server through the WordPress backend as you already have the plugin file.
Click on Upload Plugin. You can see this button at the top of the page, right next to the title.

A new panel opens.

Click on choose file. When a file is selected, the plugin file name will appear after “Choose File”. Click on the “Install Now” button to upload the plugin to the server and install it.
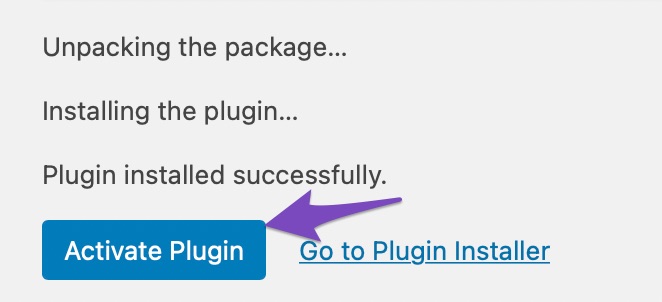
WordPress will upload the plugin file to the server ad unzip it into the plugin folder. You will see the following screen once the upload process is finished. Click on the Activate Plugin button to complete the plugin installation and activation.

Now, the installation is finished.


